工欲善其事必先利其器,跟着彭大佬搓一个os,先把环境准备好。
大佬的代码仓库:LMOS/极客时间-操作系统实战45讲 – 码云 – 开源中国 (gitee.com)
平台:Windows 10 专业版
环境准备:Windows启用Hyper-V(当时刷专业版Windows很明智)并且安装wsl
wsl配置安装gcc,make,nasm
开发流程:
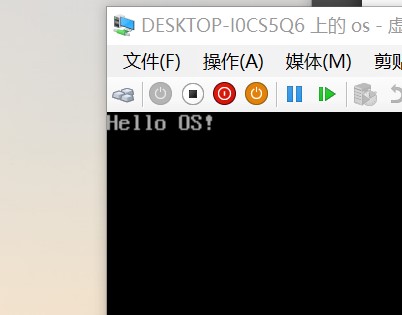
Windows写代码,使用Linux编译,再hyper-v测试
为了简化不同系统的切换,range的方案是这样。先将彭老师的代码找个地方存起来,右键进入Linux命令行,直接make -f Makefile就能生成二进制文件了。重点是虚拟机硬盘的文件怎么在Windows下编辑。我使用自己写的混合cmd,vbs和powershell 脚本来解决问题。
@echo off

>nul 2>&1 "%SYSTEMROOT%\system32\cacls.exe" "%SYSTEMROOT%\system32\config\system"

if '%errorlevel%' NEQ '0' (


    goto UACPrompt

) else ( goto gotAdmin )

:UACPrompt

    echo Set UAC = CreateObject^("Shell.Application"^) > "%temp%\getadmin.vbs"
    echo UAC.ShellExecute "%~s0", "", "", "runas", 1 >> "%temp%\getadmin.vbs"
    "%temp%\getadmin.vbs"
    exit /B

:gotAdmin

    if exist "%temp%\getadmin.vbs" ( del "%temp%\getadmin.vbs" )
    pushd "%CD%"
    CD /D "%~dp0"


:loop

powershell -command "Get-VM"
powershell -command "Stop-VM -Name 'os' -Force"
echo Already shutdown

(echo select vdisk file="D:\Hyper-V\os.vhdx"
 echo attach vdisk
 echo select par 1
 echo ASSIGN LETTER=W)>"%tmp%\vhd.sh"
diskpart /s "%tmp%\vhd.sh"
start /wait explorer "W:\grub"
pause

(echo select vdisk file="D:\Hyper-V\os.vhdx"
 echo select par 1
 echo remove
 echo detach vdisk)>"%tmp%\vhd.sh"
diskpart /s "%tmp%\vhd.sh"
powershell -command "Get-VM"
powershell -command "Start-VM -Name 'os'"
vmconnect.exe DESKTOP-I0CS5Q6 "os"
pause

goto loop
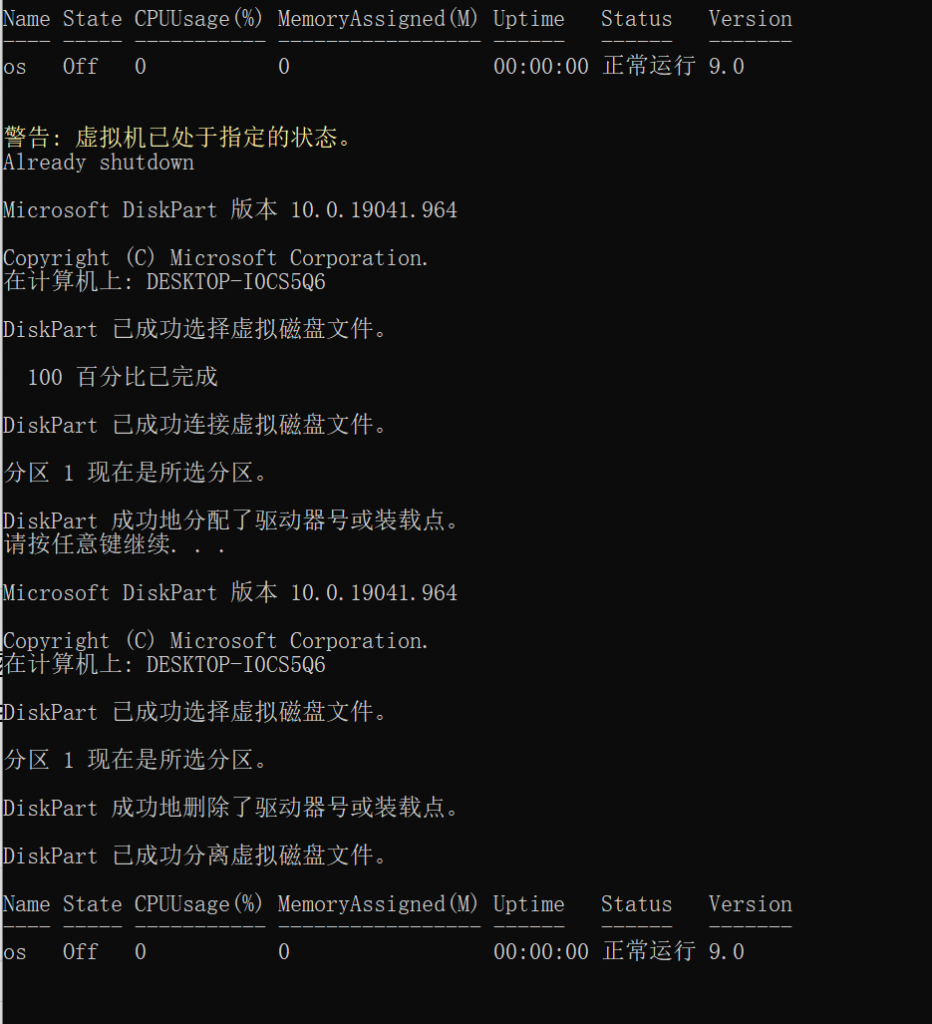
这些代码差不多是先提权,进入loop,关虚拟机,装载虚拟机虚拟硬盘文件,等待我把启动文件放进去,然后从Windows卸载虚拟硬盘,启动虚拟机。hyper-v采用vhd,而且能使用powershell,很香。
补充:关于grub的Windows安装
下载grub for Windows
Grub2 for Windows supports installation and boot on three platforms: i386-pc, x86_64-efi and i386-efi. If you want to boot Grub2 in UEFI mode, you need to create a partition formatted as FAT32.
此处我们使用传统引导,所以平台选择 i386-pc
grub-install.exe --boot-directory=G:\ --target=i386-pc //./PHYSICALDRIVE2
我们仔细观察命令,发现它要求提前装载vhd新建分区然后格式化,分配盘符,并且知道物理卷的序号。
此处不需要使用diskpart的active命令,它自己会active。但是尽量提前转化成MBR格式。
补充:关于grub文件
同理,在这种环境下的配置文件是需要改的,内容改为如下所示。
#
# DO NOT EDIT THIS FILE别看这一行,哈哈哈
#
# It is automatically generated by grub2-mkconfig using templates
# from /etc/grub.d and settings from /etc/default/grub
#

### BEGIN /etc/grub.d/00_header ###
if [ -s $prefix/grubenv ]; then
  load_env
fi
if [ "${next_entry}" ] ; then
   set default="${next_entry}"
   set next_entry=
   save_env next_entry
   set boot_once=true
else
   set default="0"
fi

if [ x"${feature_menuentry_id}" = xy ]; then
  menuentry_id_option="--id"
else
  menuentry_id_option=""
fi

export menuentry_id_option

if [ "${prev_saved_entry}" ]; then
  set saved_entry="${prev_saved_entry}"
  save_env saved_entry
  set prev_saved_entry=
  save_env prev_saved_entry
  set boot_once=true
fi

function savedefault {
  if [ -z "${boot_once}" ]; then
    saved_entry="${chosen}"
    save_env saved_entry
  fi
}

function load_video {
  if [ x$feature_all_video_module = xy ]; then
    insmod all_video
  else
    insmod efi_gop
    insmod efi_uga
    insmod ieee1275_fb
    insmod vbe
    insmod vga
    insmod video_bochs
    insmod video_cirrus
  fi
}

if [ x$feature_default_font_path = xy ] ; then
   font=unicode
else
	font="${prefix}/fonts/unicode.pf2"
fi

if loadfont $font ; then
	#set gfxmode=1024x768x32,1024x768x24,1024x768x16,1024x768,auto
	#set gfxpayload=keep
	load_video
	insmod gfxterm
	#insmod png
	terminal_output gfxterm
	#background_image -m stretch $prefix/themes/splash.png
fi
if [ x$feature_timeout_style = xy ] ; then
  set timeout_style=menu
  set timeout=15
# Fallback normal timeout code in case the timeout_style feature is
# unavailable.
else
  set timeout=15
fi

### END /etc/grub.d/00_header ###

### BEGIN /etc/grub.d/10_linux ###

### END /etc/grub.d/10_linux ###

### BEGIN /etc/grub.d/20_linux_xen ###
### END /etc/grub.d/20_linux_xen ###

### BEGIN /etc/grub.d/30_os-prober ###
### END /etc/grub.d/30_os-prober ###

### BEGIN /etc/grub.d/40_custom ###
# This file provides an easy way to add custom menu entries.  Simply type the
# menu entries you want to add after this comment.  Be careful not to change
# the 'exec tail' line above.
### END /etc/grub.d/40_custom ###

### BEGIN /etc/grub.d/41_custom ###
if [ -f  ${config_directory}/custom.cfg ]; then
	source ${config_directory}/custom.cfg
elif [ -z "${config_directory}" -a -f  $prefix/custom.cfg ]; then
	source $prefix/custom.cfg;
fi
### END /etc/grub.d/41_custom ###
menuentry 'HelloOS' {
    insmod part_msdos
    insmod fat32
###分区采用fat32,所以需要改成fat32,彭大佬的不是###
    set root='hd0,msdos1'
###root 也要改一下###
    multiboot2 /boot/HelloOS.bin
###boot是新建的文件夹,因为win的grub和Linux默认不一样,win没有boot,直接grub,这个文件也要放到grub文件夹里面###
    boot
}
Views: 120
You’re so awesome! I don’t believe I have read a single thing like that before. So great to find someone with some original thoughts on this topic. Really.. thank you for starting this up. This website is something that is needed on the internet, someone with a little originality!