We will try to turn on an LED and upload the program to Pi via bootloader.
Part one: Finish preparation
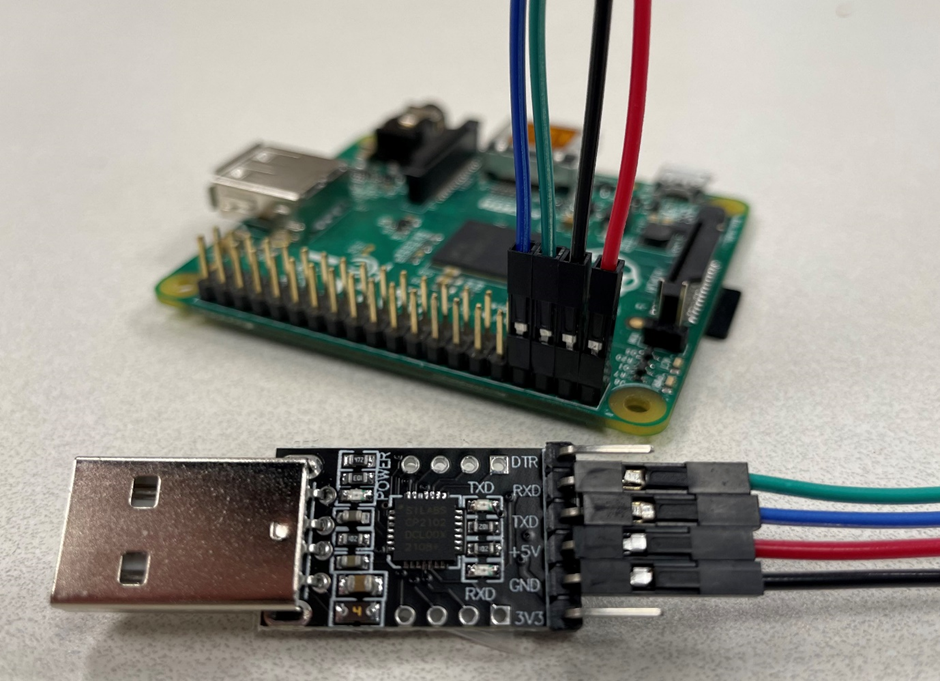
I find that cp210X also works. But the first question is how to connect this cp210X to WSL.
For WSL2, you cannot use the USB devices from the host directly. But there is a way. Please refer to this open source project GitHub – dorssel/usbipd-win: Windows software for sharing locally connected USB devices to other machines, including Hyper-V guests and WSL 2.
This is Microsoft’s official document: Connect USB devices | Microsoft Learn. But this one is out of date.
In short, you should prepare in WSL first. Please set Ubuntu 20.04 as your default distribution or connect your Ubuntu via VScode.
sudo apt install linux-tools-generic hwdata
sudo update-alternatives --install /usr/local/bin/usbip usbip /usr/lib/linux-tools/*-generic/usbip 20
If you encounter errors when running the second line, continue configuring Windows and try again later.
Once you finish this service installation, it is time to install the USBIPD-WIN project. Just download
the .msi file here and double-click it. https://github.com/dorssel/usbipd-win/releases/latest . And do not forget to reboot your Windows after installation.
Now, you have finished the necessary preparation to share USB devices between Windows and Ubuntu. So, how do you use it? Run these commands in Windows. You may also hear the notification of device disconnection.
usbipd list
usbipd bind --force -b ID
usbipd attach --wsl --busid=ID
To check whether Ubuntu can use this device, you can ls the device folder or use this command to show all USB devices attached: lsusb

Now, you can see a UART Bridge in the list and finish the final checking step of rpi-run.py. You will see something like this.

Part 2: Install the bootloader and upload programs
So far, we finished all preparation of the development tool environment. Now, we can install the bootloader to your SD card so that you can use your serial to send programs rather than insert and eject your SD card times by time. First, you can use Raspberry Pi Imager to write an image to your SD card. Because if I create the boot partition manually, the Pi does not recognize it. However, this problem will not happen if we use the official tool to create the partition. In this way, you do not need to prepare a very small SD card.
When you write a boot partition by the official tool, delete all files, copy bootcode.bin, and start.elf from cs107e/firmware to bootfs. DO NOT FORMAT THE PARTATION TO DELETE THESE FILES! To test whether your Pi works, copy blink-actled.bin to the kernel.img on the SD card before your first boot. If it works, the on-board activity (ACT) LED will be blinked. If not, please refer to Troubleshooting. To use bootloader to receive programs, use bootloader.bin rather than blink-actled.bin. If all goes well, ACT LED will blink twice by twice, which means it is ready to receive the program.
If you have finished everything above, test the blinking program uploaded by the bootloader.
cd $CS107E/firmware
rpi-run.py blink-actled.bin
#Found serial device: /dev/cu.SLAB_USBtoUART
#Sending `blink-actled.bin` (72 bytes): .
#Successfully sent!
Before you upload your new program, I recommend you reset your Pi this way.
This is my connection with the class 1 code:


Next: Week1
Views: 194